
The Easiest Way to Bleed Shimano Brakes at Home – Step-by-Step Guide
If your Shimano hydraulic disc brakes are feeling spongy or inconsistent, it's likely time for a brake bleed. In this guide, we’ll walk you through a quick and effective way to bleed Shimano brakes using simple tools — even if you’re a home mechanic. With regular maintenance, you’ll keep your ride smooth, responsive, and safe.
Difficulty: Easy
Time required: ~30 minutes
Tools needed: 2.5mm Allen key, 7mm wrench, Shimano bleed kit, mineral oil, clean cloths, disc brake cleaner
Step-by-Step Shimano Brake Bleeding
Step 1: Remove the Bleed Port Screw
- Use a 2.5mm Allen key to unscrew the top bleed port (on the brake lever).
- Tip: Keep the Allen key inserted and tilt sideways — this helps remove the O-ring with the screw.
- Be careful with threading; Shimano uses plastic threads which can strip easily. Tighten only until snug.
Step 2: Add Fresh Mineral Oil
- Pour Shimano-compatible mineral oil into the bleed cup until nearly full.
- The bright pink/red color helps distinguish new fluid from old during the process.
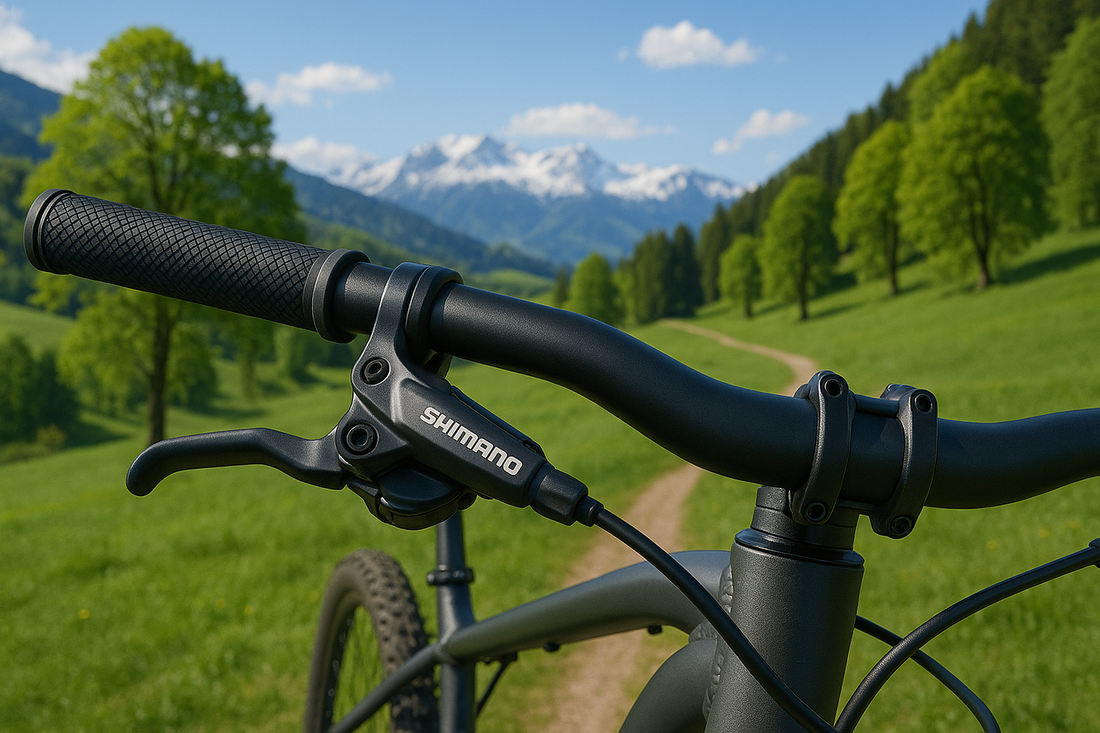
![]()
Step 3: Attach the Syringe to the Caliper
- Remove the rubber cap from the bleed nipple.
- Connect the syringe with a short hose — leave about 1cm of hose to grip.
- Use Shimano’s black clip to secure the syringe. Once attached, it can hang freely.
Step 4: Start the Fluid Flush
- Crack the nipple open (~3/4 turn with a 7mm wrench).
- Slowly pull fluid into the syringe. Discolored or dark fluid indicates contamination.
- Continue flushing until the fluid becomes clear. Refill the bleed cup if needed — never let it run dry!
💡 If you're looking for premium titanium bleed port screws or lever hardware for weight savings and durability, check out SpartsBolts’ titanium Shimano bolt kits.
Step 5: Begin the Bleed Cycle
- Push the fluid back up from the syringe slowly into the master cylinder.
- Alternate: push up > pull down > repeat 4–5 times.
- Watch for bubbles in both syringe and bleed cup. This step ensures all air is purged.
Step 6: Final Steps & Clean-Up
- Once no more bubbles appear, close the caliper bleed nipple with moderate torque — just snug.
- Remove syringe and bleed cup. Reinsert plunger to avoid spills.
- Clean caliper, lever, and surrounding areas with disc brake cleaner.
- Reinstall brake pads and adjust lever angle to preference.
Pro Tips for Better Bleeds
- Use quality tools to avoid stripping plastic threads or rounding bolts.
- Maintain a clean work area — any contamination can affect braking performance.
- Replace any rusted or soft hardware with corrosion-resistant titanium bolts, especially for lever clamps or calipers. Browse our full bolt collection for upgrade options.
Keep Your Brakes Sharp
Regular brake maintenance doesn’t have to be hard. With this quick Shimano bleed method, your brakes will feel like new and perform reliably on every ride. Whether you're on the trail or the road, sharp brakes give you the confidence to push your limits.
Have questions or need bolt suggestions? Drop us a message or explore spartsbolts.com for more upgrade ideas tailored for mountain bikers and road cyclists alike.
You may also like: