
The Complete Guide to Bicycle Bolt Installation
Expert Tips from SpartsBolts
At SpartsBolts, we specialize exclusively in high-performance titanium bolts for bicycles. After years of research, testing, and customer feedback, we’ve developed this guide to help riders and mechanics achieve safe, effective, and professional-level bolt installation for every component of their bikes.
Whether you're assembling a new ride or upgrading existing hardware, proper bolt installation is critical—especially when working with precision-engineered Grade 5 titanium (Ti-6Al-4V) bolts like ours.
Why Proper Torque Matters
Using the correct torque when installing bolts is essential for:
- Safety – Under-tightened bolts may loosen during rides; over-tightening can strip threads or damage components.
- Performance – Ensures precise alignment and maximum power transfer.
- Durability – Prevents premature wear, galling, or component fatigue.
- Product Integrity – Our titanium bolts are designed for optimal performance when installed with care.
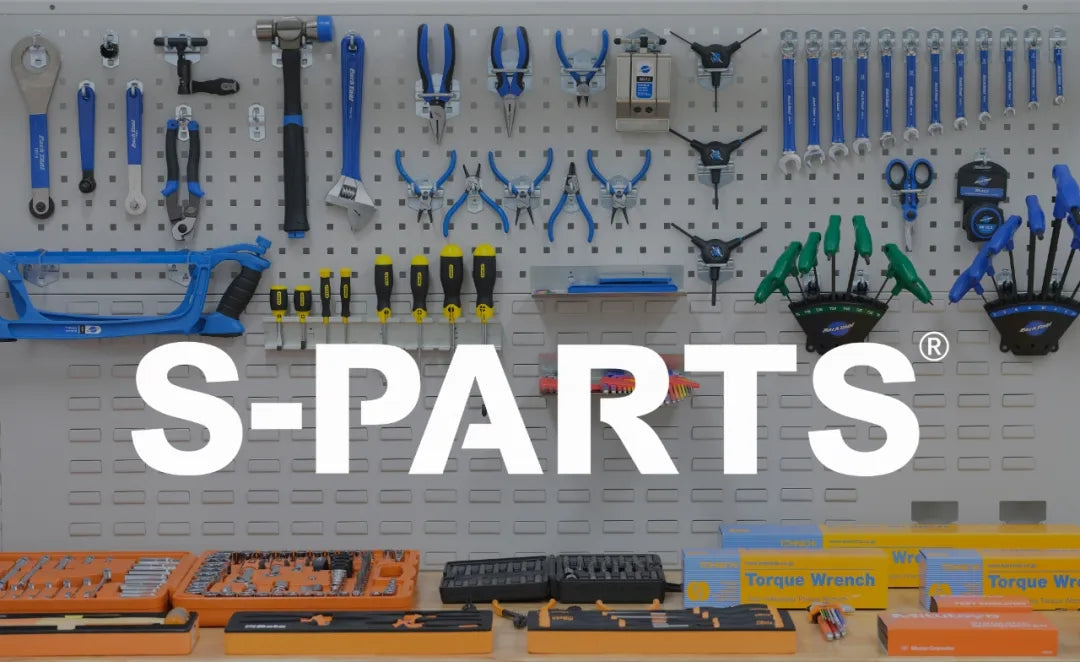
Essential Tools for Installing Titanium Bolts
Before starting, make sure you have the right tools:
- Torque Wrench – Essential for accurate, repeatable torque settings.
- Correct Bits – Hex or Torx bits in perfect condition and correct size.
- Anti-Seize Compound – A must-have when working with titanium to prevent galling (cold welding).
- Clean Threads – Always clean bolt and frame/component threads before installation.
Recommended Torque Values for Titanium Bolts
Note: These torque values are based on extensive internal testing with SpartsBolts Grade 5 titanium bolts. Titanium bolts may require slightly different torque values than their steel counterparts. Use this table as a guide and adjust for your specific setup and components.

👉 Click here to download the full torque specification chart
Pro Tips for Installing Titanium Bolts
1. Use Anti-Seize Always
Unlike steel, titanium is prone to galling. Always apply a titanium-compatible anti-seize compound to both bolt and mating threads.
2. Torque in Stages
For multi-bolt assemblies:
- Start all bolts finger-tight
- Tighten in a cross-pattern to 50% torque
- Final-pass torque to spec
- Recheck after your first ride
3. Thread Prep is Essential
Clean threads ensure even torque and prevent binding. Use a clean brush or air compressor to remove debris.
4. Color Finishes
Anodized or PVD coatings on our titanium bolts are durable but can be scratched by over-torquing or dirty tools. Use care during installation.
5. Common Mistakes to Avoid
- Installing dry: Always use anti-seize
- Using worn tools or wrong bit sizes
- Mixing up Nm and in-lbs
- Guessing torque “by feel”
- Not retorquing after initial break-in ride
Maintenance Schedule
To keep your bolts secure and in peak condition:
- After first ride – Retorque key bolts (stem, seatpost, crank)
- Monthly – Check brake mounts, derailleurs, bottle cages
- Every 3 months – Full torque check of all components
- Annually – Professional inspection if you ride frequently
Conclusion
When properly installed, titanium bolts offer unmatched durability, rust resistance, and weight savings. But they also require thoughtful handling, clean installation practices, and correct torque application.
By following this guide, you can make the most of your investment in SpartsBolts hardware—ensuring performance, longevity, and safety on every ride.
Important Disclaimer
This guide and torque table are intended exclusively for use with S-PARTS titanium bolts. Different brands or materials (e.g., steel, aluminum) may require different torque values. Always consult your component manufacturer’s specifications if in doubt. Improper installation may lead to damage or failure. SpartsBolts is not responsible for misuse or installation outside of these guidelines.